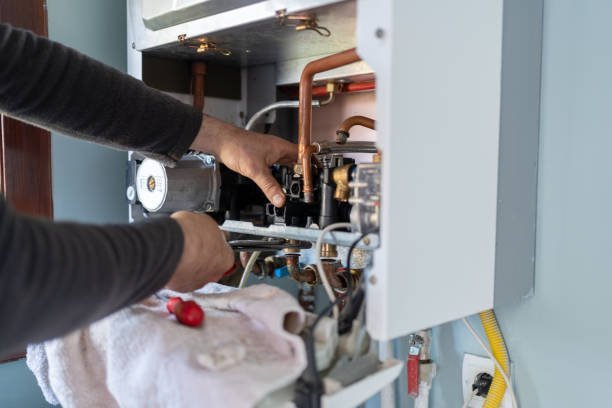


Our engineers are fully certified and qualified to handle all gas boiler repairs. You can trust us to safely and effectively repair your heating system.

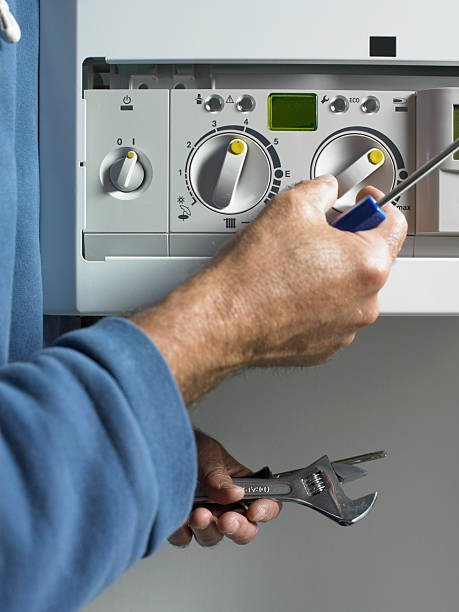
Heating problem at the worst possible time? Our team is available for urgent boiler and heating support.

We offer quick turnaround times, including same-day emergency services, so your home stays warm and comfortable.

We stand behind the quality of our work, so you can feel confident in your new boiler installation.